How to Use 3D Scanning to Improve Your 3D Designs!
Our designer of the month for June is Mutant Design! They are here to tell you how they use 3D scanning as a tool to improve and build on their 3D designs!
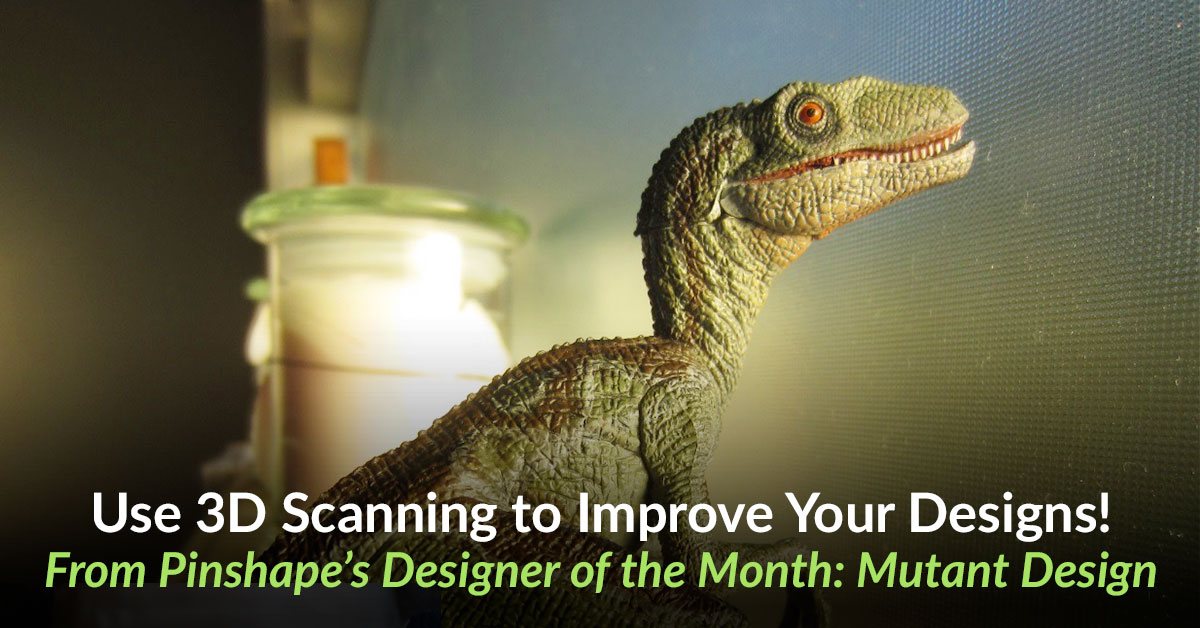
In this article I will show you how I used a combination of 3D scanning and 3D modelling techniques to bring one of my favourite toys to life – the 2005 Papo Velociraptor.
Why 3D scanning is useful for 3D design
In today’s fast paced world, 3D printing allows us to manufacture and make our ideas a reality in our own homes. Modern 3D modelling software gives us the tools to produce intricate and creative designs from nothing! However, starting from a blank canvas isn’t always the best way to work.
One great tool in a 3D designer’s arsenal is the 3D scanner. Most people know scanning technology for its ability to turn real world objects into digital form. However, if you are trying to create a solution to solve an existing real world problem, sometimes the best place to start is with an object.
 The 2005 Papo Velociraptor toy in all its glory
A quick technical introduction to 3D scanning
So what is a 3D scanner? A 3D scanner is a device that uses a combination of lasers, cameras, lights, and sensors to convert real world objects into digital models or data. By projecting light at an object and recapturing that light as images at know angles, 3D scanners can mathematically triangulate co-ordinates all over the surface of an object. This results in a 3D mesh of points or ‘Point Cloud Data’.
Although this method of triangulation is essentially the same for all personal 3D scanners, there are different ways that this 3D data is captured, depending on the method of light projection. 3D scanning is categorized into three main types: displacement scanning devices (using a single point laser beam), line profile scanners (using a projected laser line) and snapshot scanners (using structured light via a projector). If you want to look into different brands of scanners, check out Pinshape’s article on 11 Top 3D Scanners on the Market.
 A Next Engine 3D scanner was used to capture the 3D scan shown.
5 steps to modelling with a 3D scanner
1) Choose a 3D Scanner
Some important factors to consider if purchasing a 3D scanner are:
- Scan time / Scan Speed – Varies generally due to method of light projection and software used.
- Resolution / Quality – Often higher resolution scanners are more costly.
- Object Preparation – Will models need to be specially prepared or altered before scanning?
Another important aspect of any 3D scanning package is the software it uses. 3D scanning software stitches together the scanners digital snapshots to try and create a uniform and manifold 3D model. We are lucky enough here at Mutant Design to have access to a Next Engine 3D scanner (a type of projected laser line scanner) which I used to create a 3D scan of the toy dinosaur previously mentioned.

The final scan data from the Next Engine 3D scanner
2) Pick an object and scan it
Depending on the complexity of the model, it may be difficult to capture a clean 3D scan of an object. The model may require extra post-processing such as alignment, trimming and mesh patching. The need for post processing is due to multiple factors including reflectiveness of the scanned objects surface and temperature of 3D scanner. The final desired result is a ‘water tight’ (no holes) 3D model that can be exported into a 3D modeling software.
3) Import your scanned model into your 3D modelling software
Once the 3D scan is complete, import it into a compatible 3D modelling software. In general most 3D scanning suites will support exporting the scan data to either OBJ wavefront or PLY formats which can import into most 3D modelling software. Once imported, it is time to start getting creative!
4) Create your design plan
By this point, I will already have rough plans on both the functional aspects and the artistic direction for the design. This helps the design process move a lot faster. The plan for the Velociraptor toy is to create a battle saddle with detachable guns, which will take this toy to the next level.

Planning ahead is always a good idea and can save a lot of time and frustration.
5) Start modelling!
Now that I imported my scan data into my modelling software (Maya), I create a primitive 3D object that closely resembles my planned design and start modelling over the top of the scan data. I continually add divisions to the model where necessary and tweak until I have something that fits my design (see figure 1). In this case I am working towards creating a shell for the saddle. I will 3D print it to prove it is a functional working base before I start 3D styling.
 Figure 1. Modelling around the 3D scan data starting with a simple cube primitive.
Figure 2. Baseline saddle shell created via Boolean ‘Difference’ command.
Once satisfied with the initial design, I will use the Boolean (difference) tool in Maya to subtract the scan data from the saddle object (see figure 2). This leaves a perfect ‘bite’ out of the saddle side of the model which we can cleaned up (i.e. merging vertices and smoothing edges). Finally we must inspect the new saddle shell for undercuts. Undercuts are the parts of the model which leave an overhanging lip that will not allow the two objects to fit into each other uniformly. Once all undercuts are removed and the model is ready, I print and test the design for functionality before proceeding to the final steps.

Velociraptor with initial working functional saddle design.
It is important to identify and try to avoid obstacles (e.g. undercuts and other avoidable issues) to reduce the number of trial prints necessary to achieve your final masterpiece. If functionality is part of your design, then it is important to take the time to test print your design at this stage.
Once the designs functionality is proven, the final steps of 3D styling is the easy part (especially if it has already been planned for). The weapon mounts on the raptor saddle in this case were also created using the same Boolean technique as before, and were printed and tested in the same way the saddle design was.
 Velociraptor with battle armour

Velociraptor with Minigun – Weapon Pack
Conclusion – Think outside the cube.
I encourage you to push the boundaries of your 3D design. Using 3D scanning as a platform to build on is a fantastic opportunity to improve your 3D design skills. Thinking outside of the box and into other applications and technologies such as 3D scanning will help broaden your skill set, and to open up a whole new world of possibilities.
Check out more from Mutant Design on Pinshape!
Mutant Design Biography
Mutant design is a small 3D design studio focused on creating high quality, tried and tested 3D products. Based in Melbourne, Australia we aim at developing unique and interesting 3D designs different to anything else on the market. Whilst studying Games & Graphics Programming, founder Chris Czech took an interest in 3D modelling which kick-started his fascination with the 3D printers and their ability to bring his virtual creations to life. Mutant design utilises a wide range of 3D software suites from Maya to Meshlabs. We look forward to seeing what the future holds for the 3D printing industry and are excited for the new partnership between Pinshape and Formlabs. We would like to say a massive thank you to Formlabs for supporting such an amazing community and for recognizing the potential of the Pinshape and all who contribute to its growing success.


